On-Edge Quilled Owl

Hello everyone,
I am back again with another fun project along with some tips and tricks related to the on-edge technique of quilling.
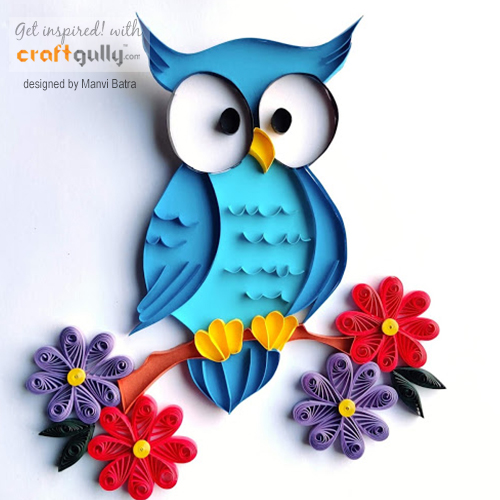
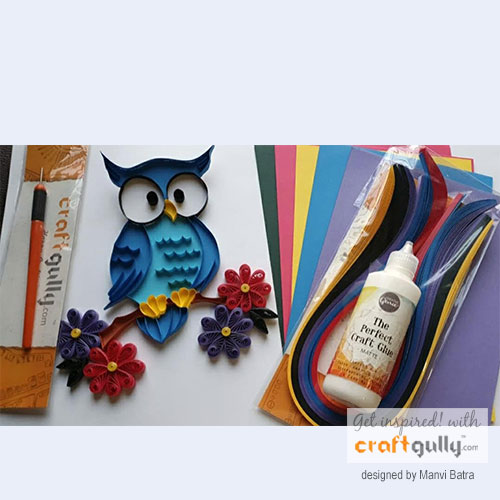
This time I have made a quilled owl using the on-edge technique. I have used the edge kit from CraftGully for the same. The colors are fun to work with plus you have got co-ordinating strips and paper so it makes it a lot more easier to create anything using the on-edge technique.
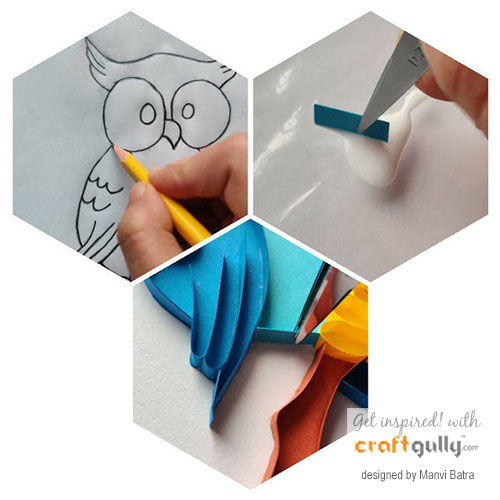
For today's project , I created an owl by first taking a free downloadable template from the internet.
Tip :- you can search for free coloring pages or embroidery pattens as template for your projects.
Then I traced it down using using by applying a little bit pressure in order to create an imprint on the sheet below. You could also use an empty ball pen.
Then using the papers from the edge kit , I pasted co-ordinating shapes of colored paper onto the owl making a colored background as seen the pictures.
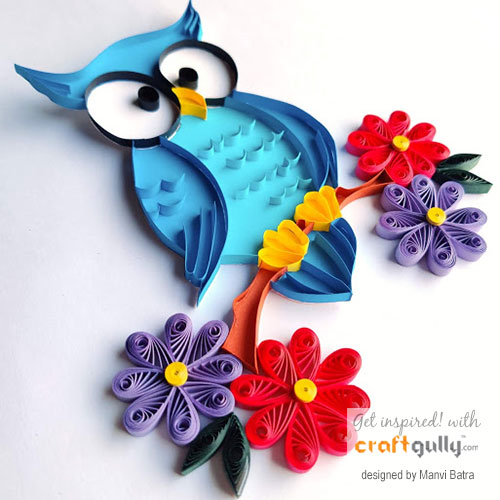
Next , I started gluing strips onto the edges using the matte finish glue from Craftgully. This glue is best for doing edge work quilling as it leaves behind a matte finish (unlike other glues) which is not that much visible after drying. So I highly recommend getting this for edge - work.
For bigger edges i directly applied glue on the paper and then placed my strip over it but for smaller edges i first measured the length of strip required using the template i downloaded and then i dip it in the glue and placed them using the tweezer.
Pro tip :- 1. For doing any kind of edge work, tweezers are your best friend. It makes a lot more easier to hold and place the strips.
Pro tip :- 2. Apply a very very little amount of glue in order to make your artwork neat and clean.
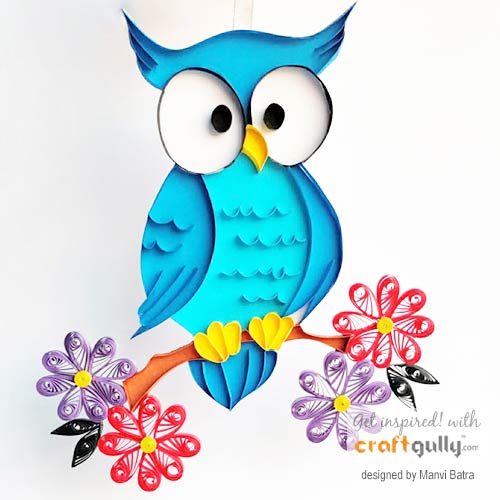
Then i cut down the owl from the paper and placed flowers and leaves on either side of the branch in order to make it more interactive.

Lastly , I added a ribbon onto it and used it as a hanging. It makes out a perfect home decor piece to hang on your artificial plants inside home.
I hope you find this project informative and easy.
Craft Supplies used in this project:
Keep quilling and be happy, Thanks.

Leave a Comment