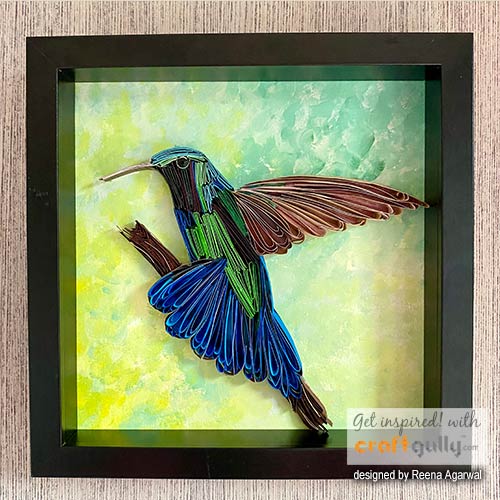
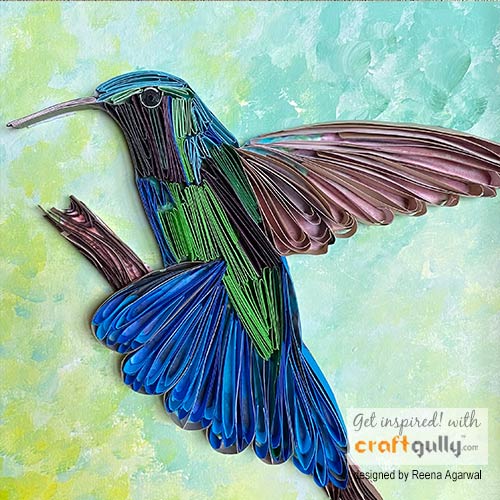
Quilled Hummingbird

Hey there! This project is about Hummingbirds. Native to America Hummingbirds are smallest of birds. They are known as hummingbirds because of the humming sound created by their beating wings.
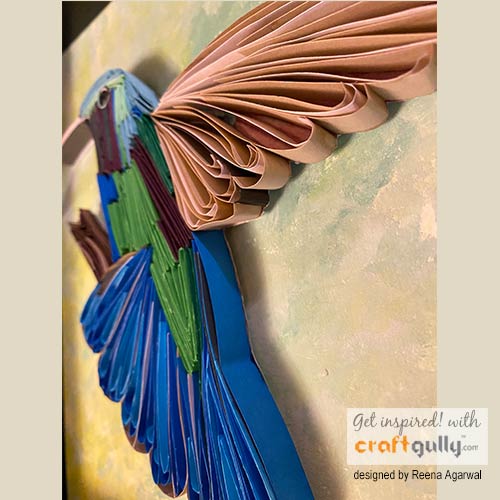
This is the first time I’ve worked with 10mm strips and honestly, it’s been a new learning experience altogether. Best quality 10mm strips from CraftGully give the project dimension which make it look more realistic and pop out.
Different quilling techniques have been used here.
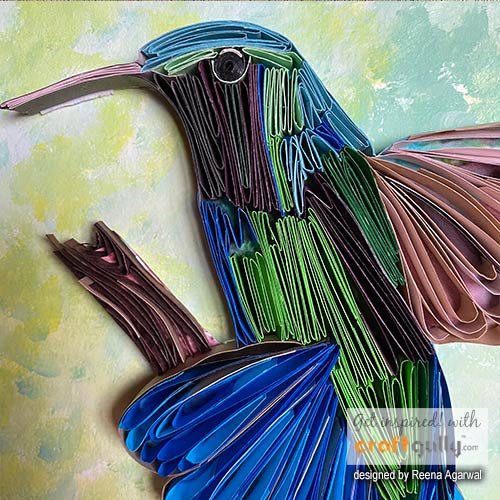
To start with on edge quilling was done for the outline of bird’s body, wings and tail feathers.
Eye of the bird has been made with tight black coil with a dash of white in it and then light blue under the eye.

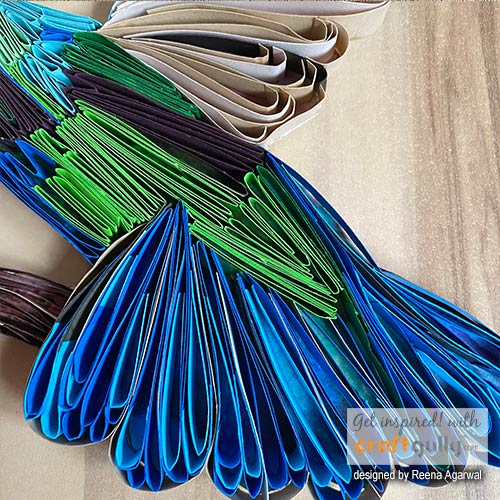
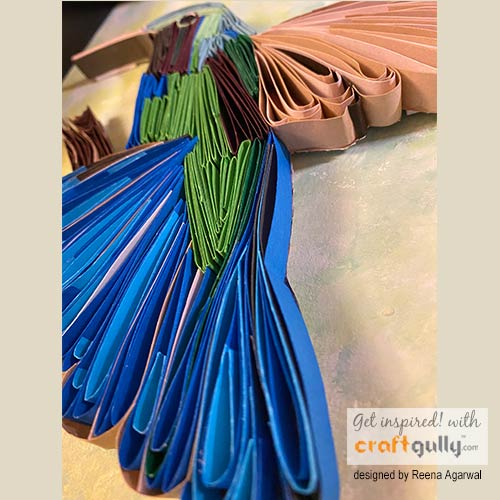
For the bird’s body different shades of blue, green, maroon and grey have been used. Technique used is zig zagging or tightly bent strips glued and put together.
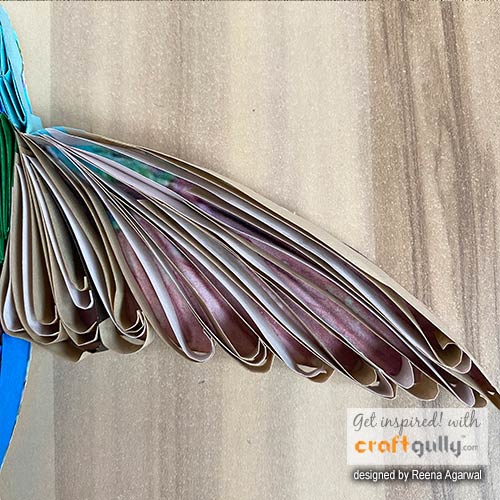
Side looping, alternate side looping and wheatear techniques were used for detailing the wings and tail feathers.
Tree branch has been made with 5mm strips using on edge quilling technique.

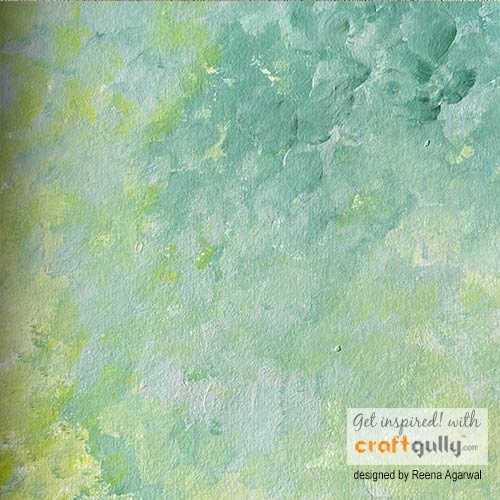
Painting the background:
Mix shades of light green, dark green, light yellow and dark yellow CraftGully Creative Genie acrylic paints. Add some white acrylic paint to the paper. While the paint is still wet, using a round brush make cross hatching strokes using the darker colours. Then add the lighter colour on top. Blend the different shades using a clean dry brush. Let the paint dry.
This is a perfect project to liven up a room with colours and a fresh feel.
Materials used in this project:
- CraftGully Quilling Tools
- CraftGully Quilling Paper Strips 10mm - shades of blue, green, maroon, grey, brown, beige and cream also 5mm brown strips.
- CraftGully Perfect Craft Glue – Matte
- Creative Genie acrylic paints – green, yellow and white
- CraftGully paint brushes
- White CardStock
- Fine Tip Glue Applicator
- Wooden Frame

Leave a Comment