
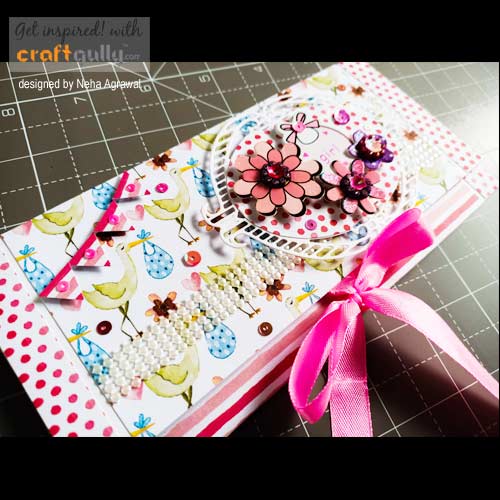
Baby Themed Envelope

Hello crafters,
Neha here with my debut post. It’s a wonderful feeling to be a part of the amazing design team. Today i am sharing a picture tutorial with clear instructions and measurements for an envelope with a baby girl theme.
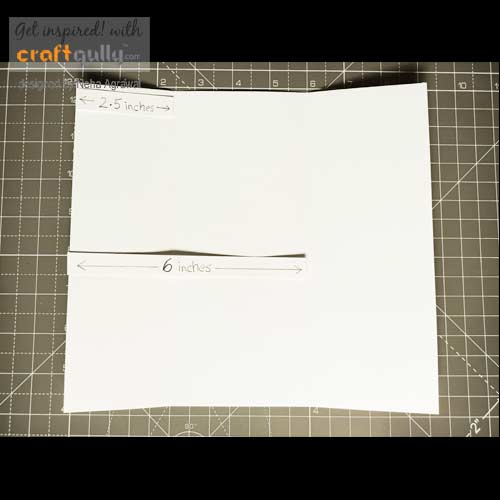
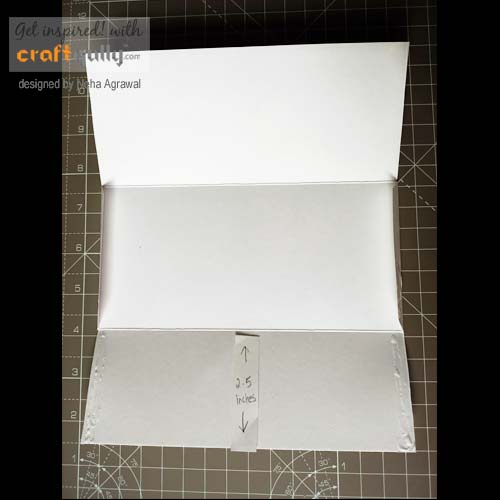
Step 1: Take a sheet of A4 size cardstock and cut it at 9 inches on the longer side. Score or in simple words, fold it at 2.5 inches and then at 6 inches on the 9 inch side. Turn it and score it at ½ inch from both the ends on the shorter side.
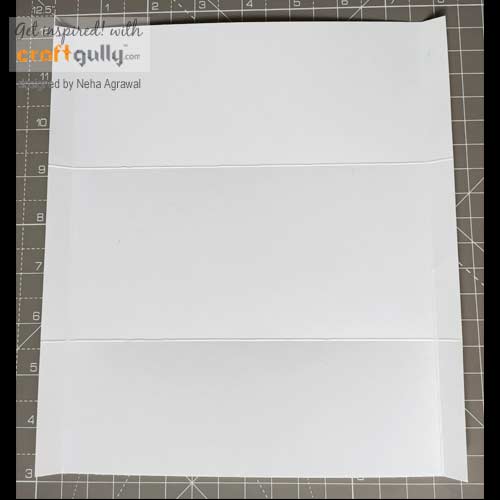
Step 2: Cut the ½ inch part from all four sides upto the point where both score lines meet. Then trim these ½ inch side tabs completely from their respective corners as shown in the below image.
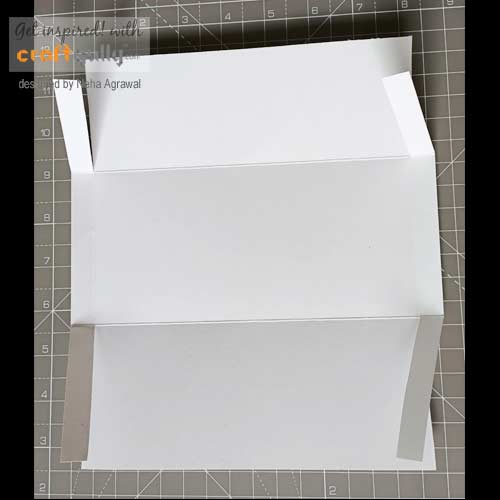
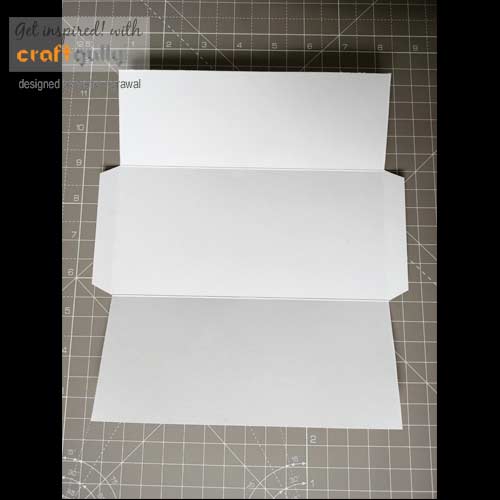
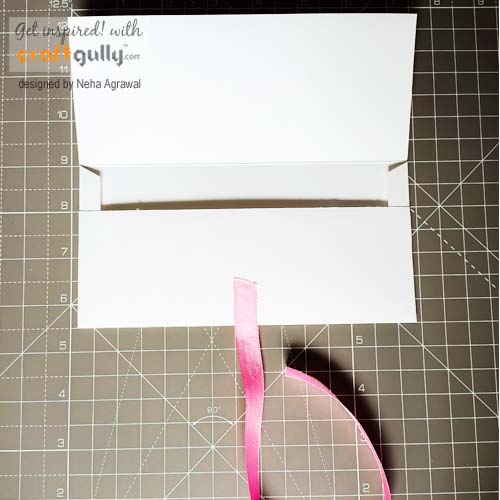
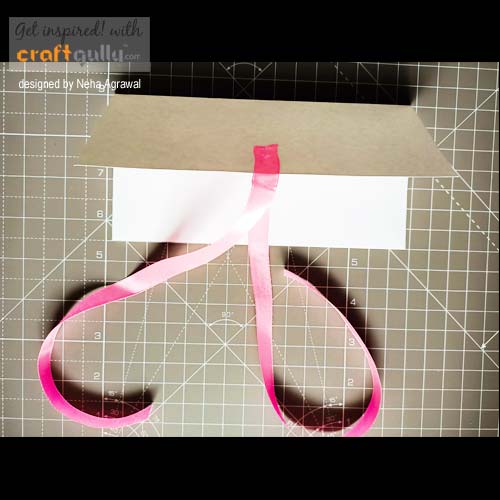
Step 3: Fold the two side tabs inwards as we are going to stick them with the bottom flap to form an envelope. Apply glue on both the ends i.e. about ½ inch from the edge on the flap which is 2.5 inch in width. Be careful, don’t apply glue on the other flap which is 3 inch in width. Then, for ribbon closure, cut two pieces of pink satin ribbon each of size 12 inches and paste one in the centre of the bottom flap and the other in the centre of the top flap as shown in the below images.
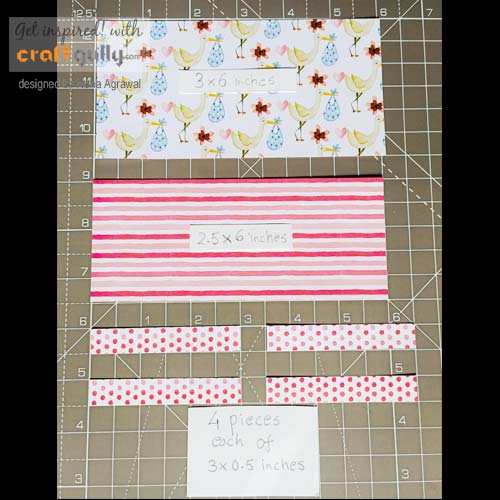
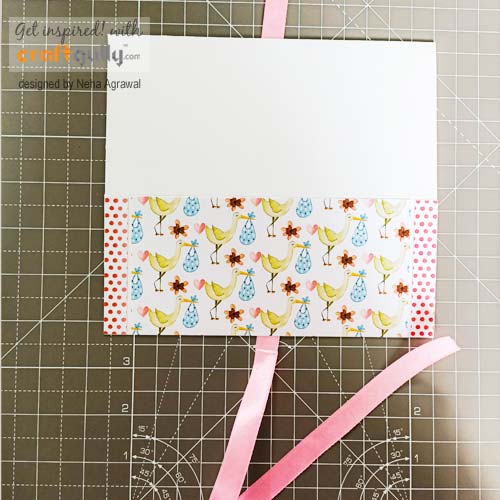
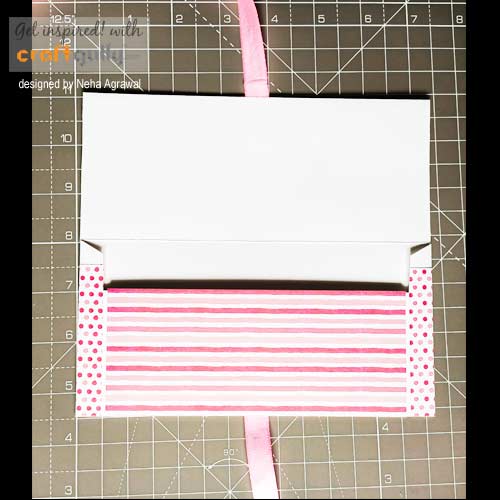
Step 4: Take pattern papers from baby hues paper pack and cut them as per the sizes mentioned below in the first image below (i.e. 3x6 inches, 2.5x6 inches, four pieces of 0.5x3 inches). Now, first adhere the two 0.5 inch strips aligning it from the left and right edges and then paste the 2.5x6 inches paper in between these two adhered strips leaving a small gap and aligning it in centre as shown in the second image below. Then in a similar way, adhere the remaining two 0.5x3 inches strips on the front side of the top flap and the 3x6 inches paper in between these as shown in the third image below.
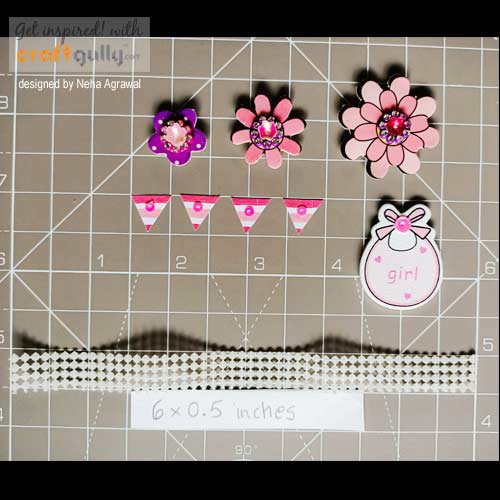
Step 5: Cut mat lace of the size 6x0.5 inches and then cut four small triangles from ½ inch strip, take out pink flower from 3D sticker pack and separate it in two parts by removing the upper layer of the flower so that we have one small and one big pink flower. Also, take out the purple small flower from the sticker pack. Now stick sequins and rhinestones on the centre of each of these three flowers, triangles and in the centre of the bow of the wooden bib as shown below
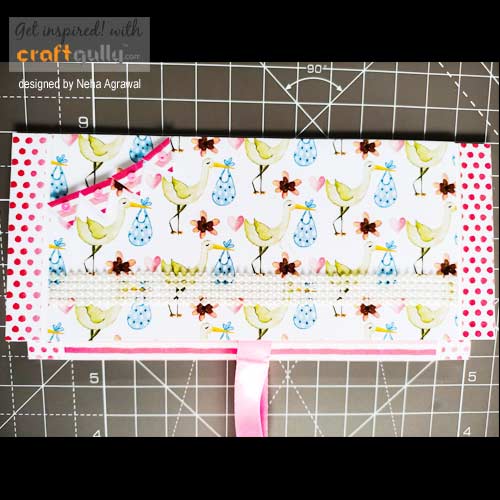
Step 6: Adhere the mat lace on the cover leaving around ½ inch from bottom in the centre part and add the four triangles on the upper left part using foam tape on their back to form banner. Take die cut and adhere it with foam tape on the right side. Now, add bib and flowers on this die-cut as shown. Add some more sequins randomly on the envelope. Tie the ribbon and trim the excess ribbon. And you are ready with a beautiful and adorable baby girl envelope that can be used for baby shower/ baby announcement.
Material needed:
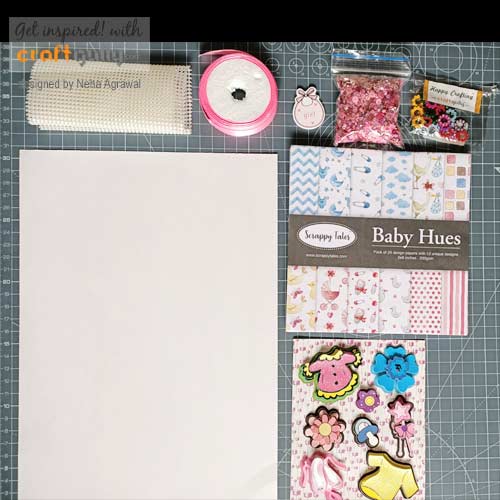
- Cardstock A4 - Snow White
- Pattern Paper 6x6 - Baby Hues
- Satin Ribbons 1/2 inch - Bright Pink
- The Perfect Craft Glue
- 3D Paper Stickers
- Laser Cut Wooden Bib - Pink
- Flatback Pearls Mat Lace
- Flatback Acrylic Flower With Rhinestone
- Sequins - Pink With Lustre
- Die Cut-Outs (Any Shape)
- Scissors
- 3D Foam Tape
- Scoring Board (Optional)
Hope you enjoyed the tutorial and make one too!
Neha

Leave a Comment