
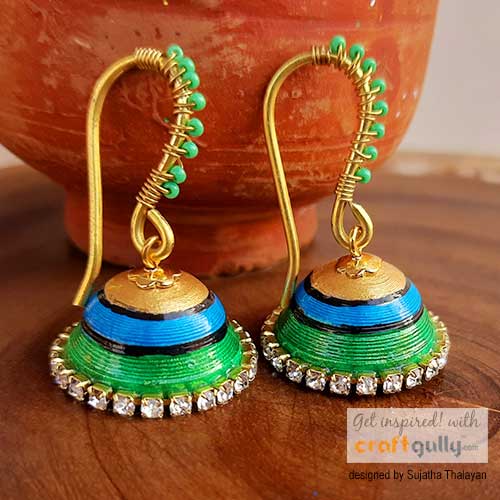
Quilled Jhumkas

Hello there!
I have with me these super cute quilled jhumkas which you can make in simple and easy steps
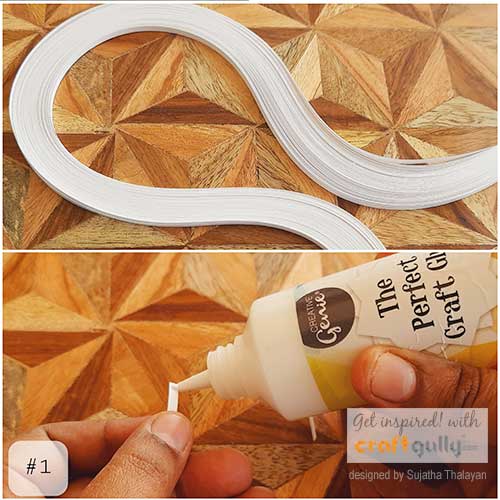
Take four strips from 3mm quilling paper and stick them using The Perfect Craft Glue by Creative Genie
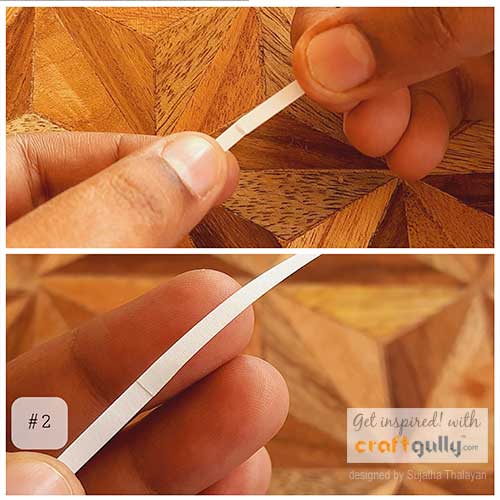
Stick the same sides together and adjust the strips neatly
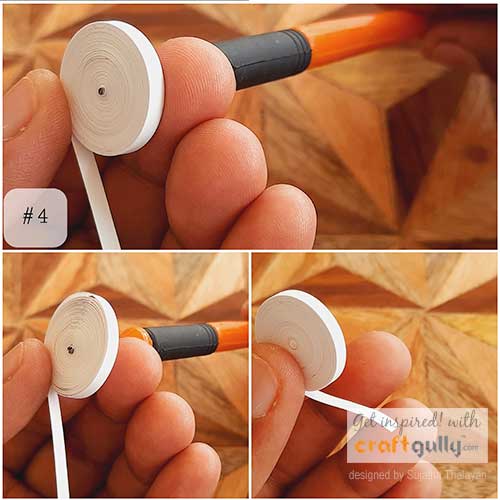
Roll the strips using a quilling slotted tool to make a coil
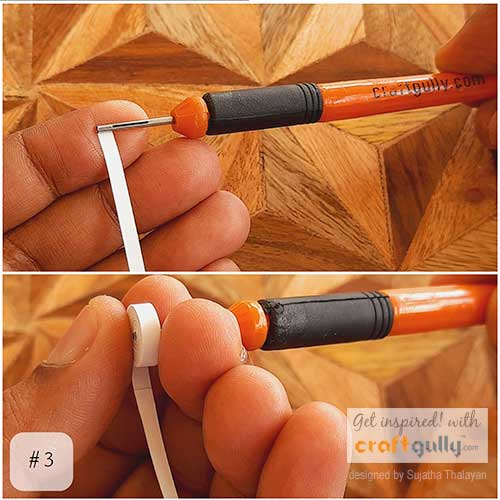
Roll the coil tightly, loosen the coil and then roll the coil again to make a neat coil. The end result should not be too tight nor too loose.
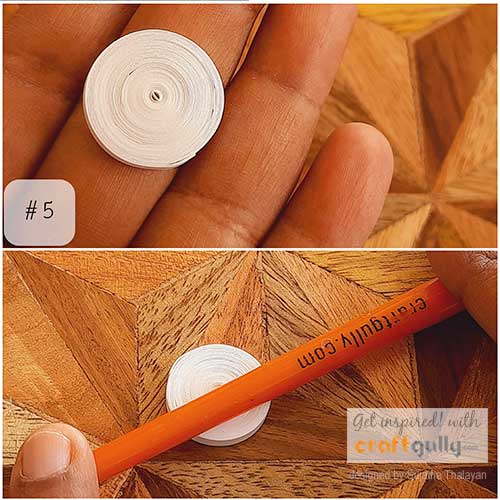
Glue the ends and roll them using the back of the quilling slotted tool.
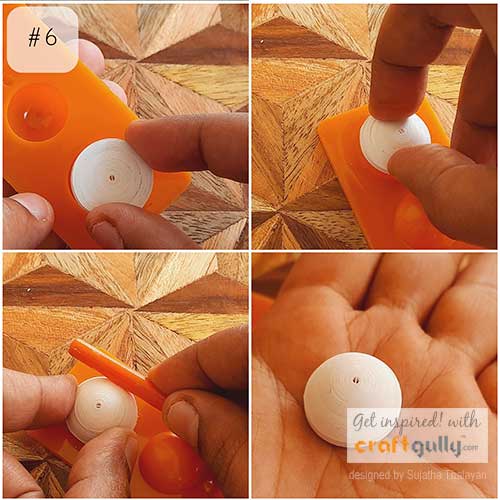
Match the size of the coil to the base of the quilling 3D mould. Place the coil on the appropriate dome and start pressing from top to make a dome. Smoothen the surface using the back of the quilling slotted tool as you shape them.
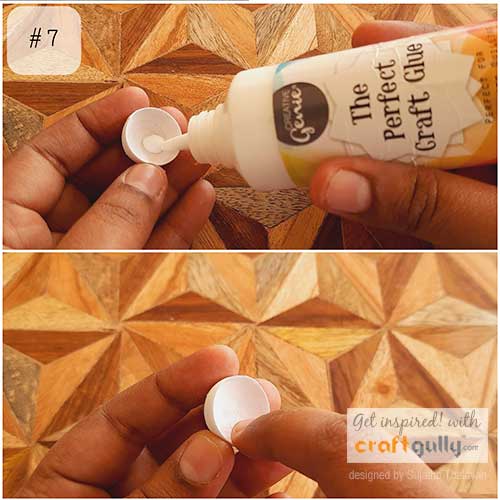
Apply The Perfect Craft Glue on the inside using finger or brush. Let it dry.
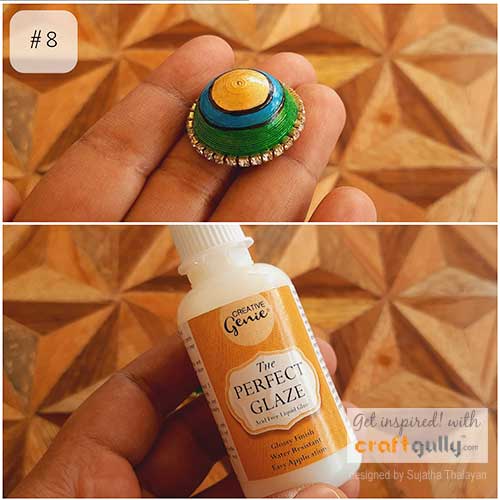
Paint the base using acrylic colors. Stick rhinestones for border. Let them dry. Apply two coats of The Perfect Glaze to make them waterproof leaving drying time between coats.
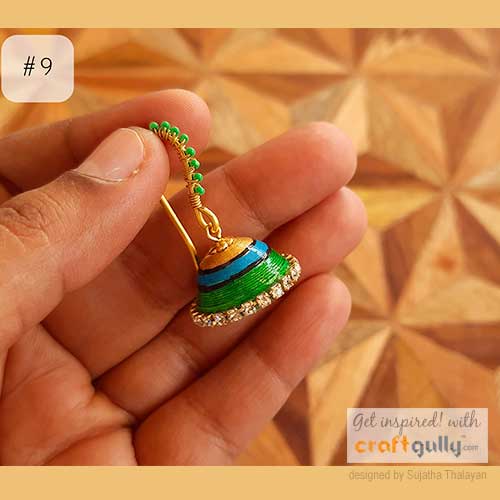
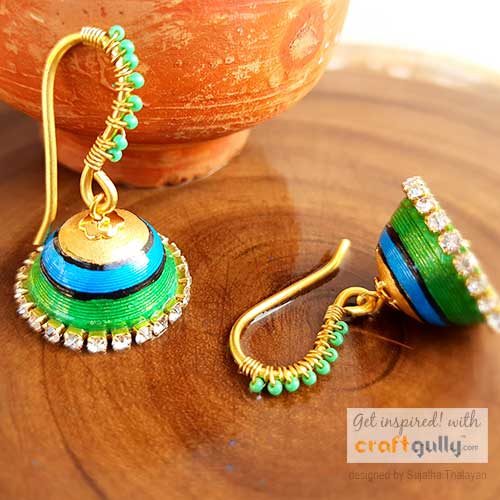
Add jewellery findings using pliers, hooks, eyepins and your gorgeous paper quilled jhumkas are ready!
Do try and let us know!!
Hope you enjoyed the tutorial. Do try it out!
Materials used:
- CraftGully 3mm quilling paper
- CraftGully Quilling Slotted Tool
- The Perfect Craft Glue
- The Perfect Glaze
- 3D Quilling Mould
- Jewellery Wire
- Seed Beads
- Rhinestone Chains
- Earring Hooks
- Eye Pins
- Pliers
- Acrylic Paints


1 Comment(s)
I like to learn quilling
Leave a Comment