
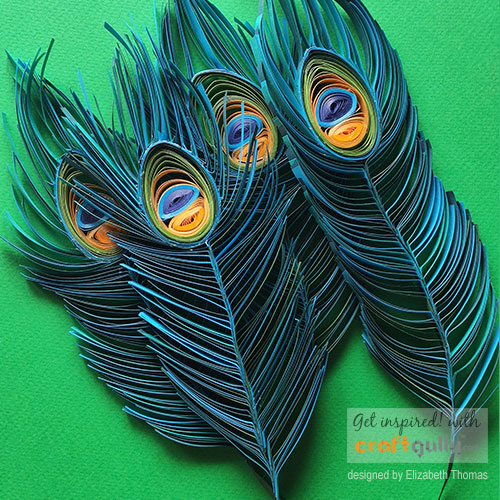
Quilled Peacock Feathers

Peacock feathers represent pride, and by extension, nobility and glory.
In today's DT blog of the CraftGully blog, I would like to show you all how to create a perfect and elegant peacock feather. There are step-by-step photos as well as a video - so take your pick!
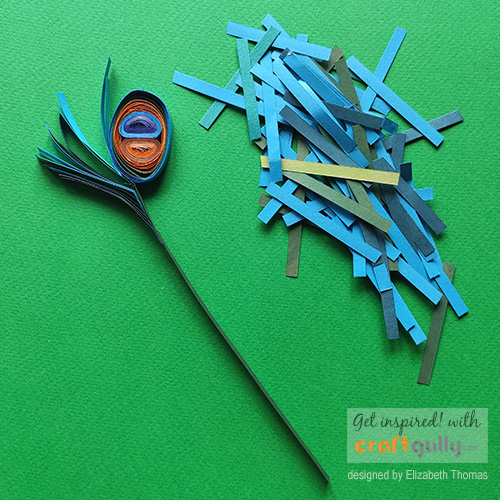
The paper used for the feather includes 5mm CraftGully quilling strips of various colors and the CraftGully 5mm peacock themed quilling paper. CraftGully on edge quilling kit was used to create the centre vein of the feather.
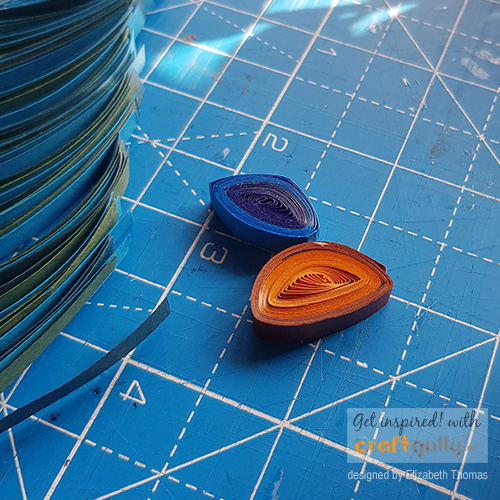
As you can see, the first step involves creating the eye of the feather. I have chosen two shades of each of brown and blue for this. The outermost layering of the feather-eye was made in metallic strips to make it more elegant.
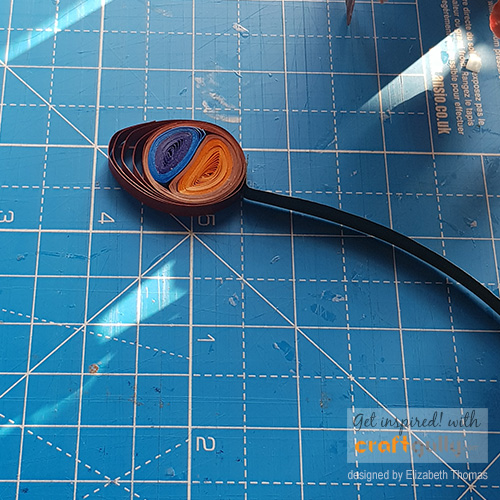
Once the eye is fixed, I ensured that the scroll is properly glued to prevent any damage in further processes.
Peacock green shade from the CraftGully Edge Quilling Kit was cut into a 5mm strip and fixed onto the eye segment.
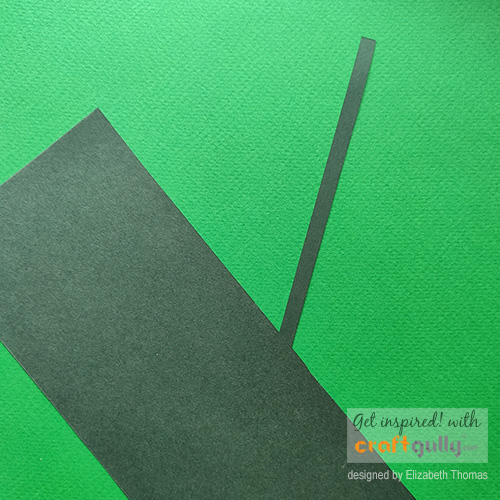
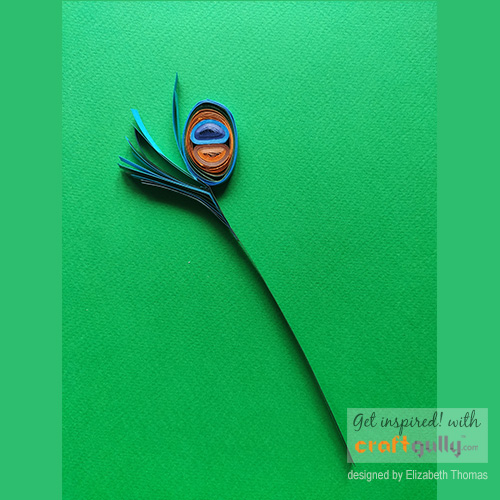
Further, multiple shades of peacock blue and green strips were cut into 7-8cm pieces. Their edges were folded and glued conveniently, so as to stick them onto the centre vein.
By sticking this combination of multiple shades, you can see a peacock feather with straight edges is made.
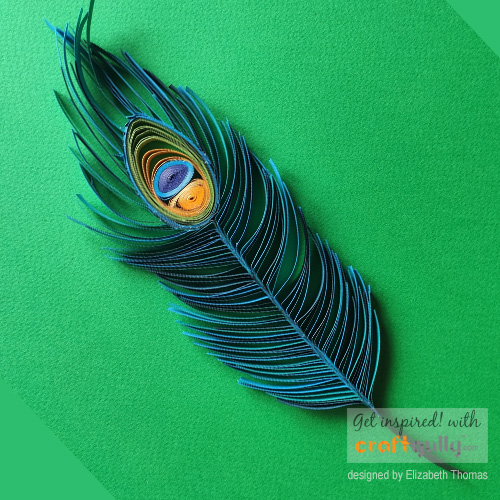
To curl the edges of each small strip, I used the CraftGully quilling slotted tool. This is done by smoothly holding the needle against the strip and pulling it along the length. This has to be done smoothly, as too much pressure can cause the paper to roll into a coil shape.
Here is the video tutorial for you too!
This pretty quilled feather technique can be used for creating frames, birds or even for dreamcatchers.
Materials used:

Leave a Comment